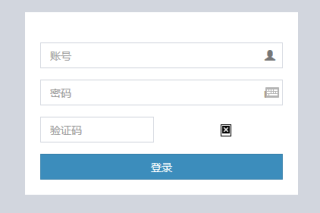
跟着网上教程写的代码,检查了3遍代码应该是没有问题,但是验证码不显示
def verify(request):
#引入随机函数模块
import random
from PIL import Image, ImageDraw, ImageFont
#定义变量,用于画面的背景色、宽、高
#bgcolor = (random.randrange(20, 100), random.randrange(
#    20, 100),100)
bgcolor = (242,164,247)
width = 100
height = 25
#创建画面对象
im = Image.new('RGB', (width, height), bgcolor)
#创建画笔对象
draw = ImageDraw.Draw(im)
#调用画笔的point()函数绘制噪点
for i in range(0, 100):
    xy = (random.randrange(0, width), random.randrange(0, height))
    fill = (random.randrange(0, 255), 255, random.randrange(0, 255))
    draw.point(xy, fill=fill)
#定义验证码的备选值
#str1 = 'ABCD123EFGHIJK456LMNOPQRS789TUVWXYZ0'
str1 = '0123456789'
#随机选取4个值作为验证码
rand_str = ''
for i in range(0, 4):
    rand_str += str1[random.randrange(0, len(str1))]
#构造字体对象,ubuntu的字体路径为“/usr/share/fonts/truetype/freefont”
font = ImageFont.truetype('static/arial.ttf', 21)
#font = ImageFont.load_default().font
#构造字体颜色
fontcolor = (255, random.randrange(0, 255), random.randrange(0, 255))
#绘制4个字
draw.text((5, -3), rand_str[0], font=font, fill=fontcolor)
draw.text((25, -3), rand_str[1], font=font, fill=fontcolor)
draw.text((50, -3), rand_str[2], font=font, fill=fontcolor)
draw.text((75, -3), rand_str[3], font=font, fill=fontcolor)
#释放画笔
del draw
#存入session,用于做进一步验证
request.session['verifycode'] = rand_str
"""
python2的为
# 内存文件操作
import cStringIO
buf = cStringIO.StringIO()
"""
# 内存文件操作-->此方法为python3的
import io
buf = io.BytesIO()
#将图片保存在内存中,文件类型为png
im.save(buf, 'png')
个人猜应该是电脑少装了内容,但具体缺了啥不清楚